Apps and tools to resize and compress images for the web
27. 7. 2025
ATWEL specialist
Categories: Online marketing, online store, Web application development, Website Development, WordPress website management
Image optimization is an integral part of website content management. That’s why we’ve put together an overview of free and paid apps and tools, plus step‑by‑step instructions on how to resize and compress photos and graphics for the web.
Resizing images without losing quality
Reducing photo dimensions for the web is one of the simplest ways to speed up page load times. Before you start optimizing, consider a few factors. The first is sufficient resolution so images and graphics remain sharp even at lower quality settings.
Exact values depend on the image’s purpose. For example, a hero section that spans the full width will typically use a width of 1920 px with a proportionate height. Images for other sections will usually be no larger than about half that size—roughly 700 px wide.
Besides dimensions, you should also set DPI (dots per inch), i.e., pixels per inch. If the images are for web use only (not print), 72 DPI is generally sufficient. Combine those settings with an appropriate file format—most commonly JPG.
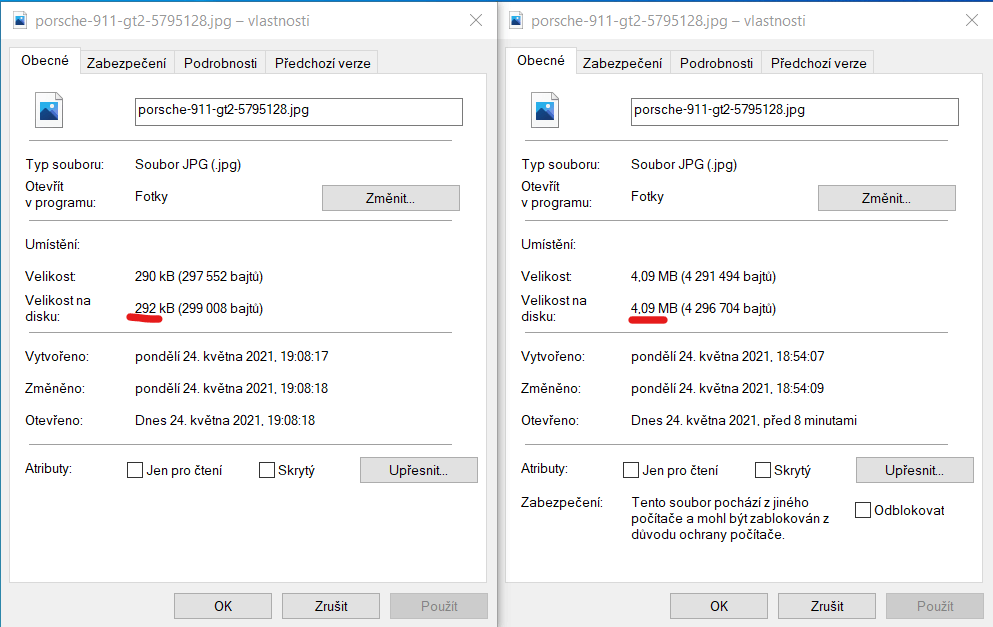
If you need to keep higher resolution, you can also use compression (i.e., lossy compression). In the editor you set how many percent of the original pixels you want to retain. The remaining pixels are removed, which reduces the file size. Be careful not to overdo it — too much compression makes photos pixelated and unprofessional. You must always strike the right balance between quality and size.
Programs for resizing photos
The best‑known photo editor is probably Adobe Photoshop. Photoshop is a multifunctional tool that lets you do almost anything with photos and even create simple vector graphics. Resizing and compressing images for the web is very intuitive here. The downside is the higher cost associated with Photoshop.
Photoshop — resizing photos
- Launch Photoshop and open the image you want to edit.
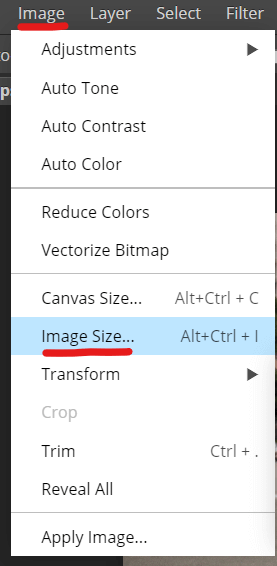
- In the top menu, go to Image > Image Size.
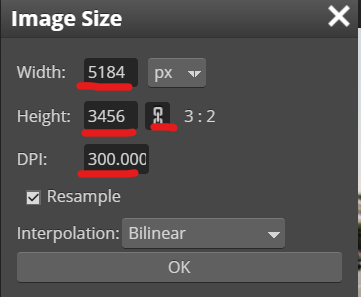
- A dialog box will appear showing the photo’s current dimensions.
- Make sure the chain/link icon next to the width and height fields is enabled (to constrain proportions), then enter the dimensions you want to use.
- Confirm by clicking “OK.”
- In the top menu, click File > Save As.
- Choose the file format and save location.
- If you pick JPG, you can also set the compression/quality level.
Programs for resizing photos: GIMP
Probably the best-known alternative to Photoshop is the open‑source editor GIMP. GIMP is designed for working with bitmap graphics (i.e., photographs), and resizing photos for the web is no problem here either.
- Launch GIMP and open the image you want to edit.
- In the top menu, click Image and then select Scale Image.
- A dialog box will appear showing the image’s current dimensions.
- Make sure the chain/link icon next to the width and height fields is checked, then enter the dimensions you want to use.
- Confirm by clicking “Scale.”
- In the top menu, click File > Export As.
- Click “Select File Type,” choose the format and a save location on your computer.
- If you choose JPG, you can again adjust the compression/quality level.
Apps for resizing photos
In addition to desktop programs, you can also use web apps that don’t require installation. One notable tool for editing and resizing images for the web is Photopea — a free alternative to Photoshop that copies many of its features and interface. The only minor annoyance is the ads, which appear around the editor’s edges but don’t interfere with the workflow.
Photopea — resizing images
- Visit the Photopea website and open the image you want to edit.
- In the top menu, click Image > Image Size.
- A dialog box will appear showing the image’s current dimensions.
- Make sure the chain/link icon next to the width and height fields is checked, then enter the dimensions you want to use.
- Confirm by clicking “OK.”
- In the top menu, click File > Export As.
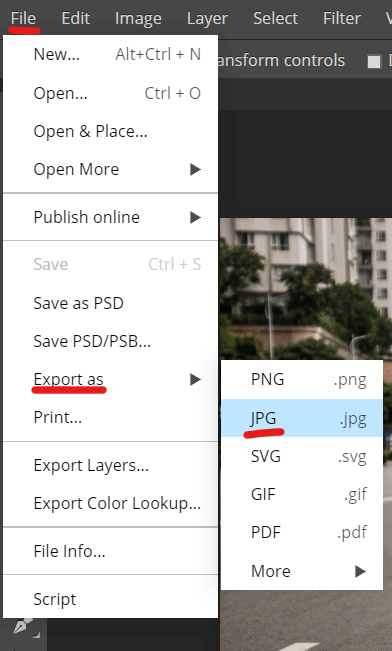
- Choose the format and save location.
- If you select JPG, you can also choose the compression/quality level.

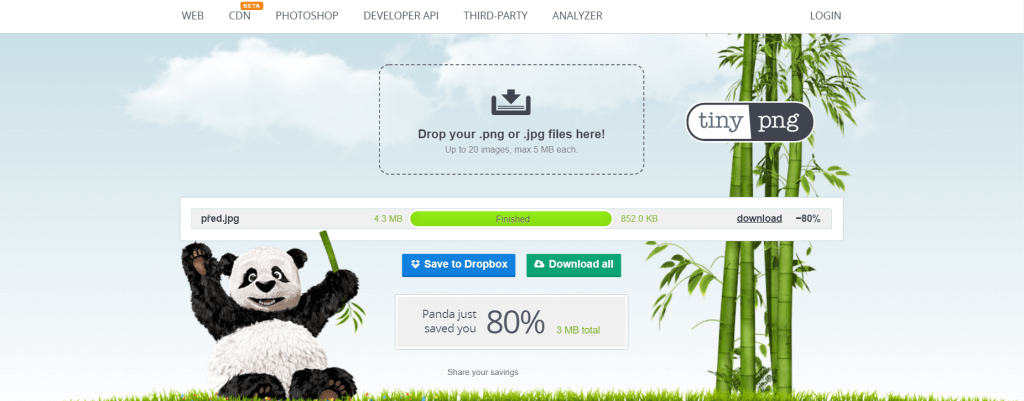
Image and graphic compression app: TinyPNG
A quicker way to reduce photos and graphics for the web is to use TinyPNG. It’s very simple to use: just visit the website and drag‑and‑drop your images. The app compresses them and offers the optimized files for download.
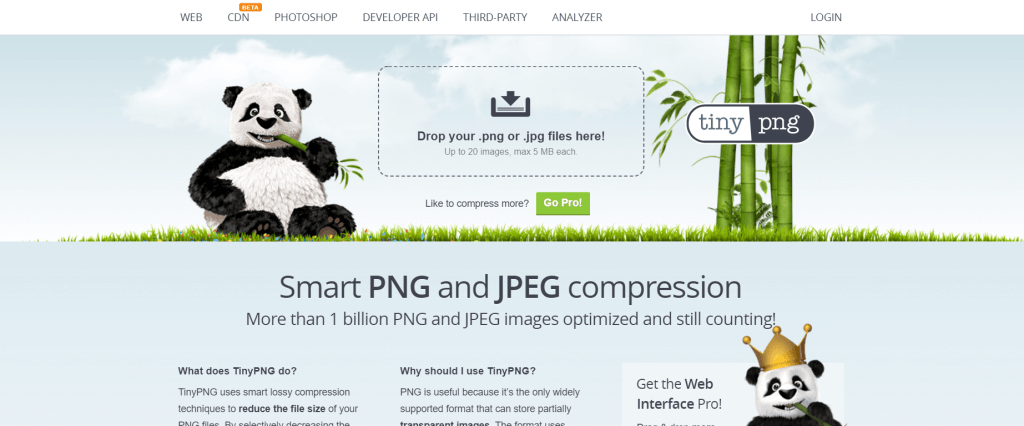
The only drawback is that there’s a limit on how many files you can compress, and none can be larger than 5 MB.
There are many other apps and tools you can use to resize images for the web. However, the ones listed above are tried‑and‑true, reliable tools that are both fast and easy to use.
If you need help optimizing images for the web and speeding up page load times, don’t hesitate to contact us.